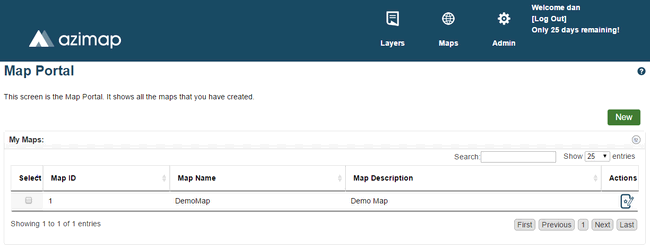
This is the Map Portal. You can access it at any time by clicking Maps on the site header. All maps in your current workspace will be displayed here. Select New to create a new map.
This is the Map Creation Screen.
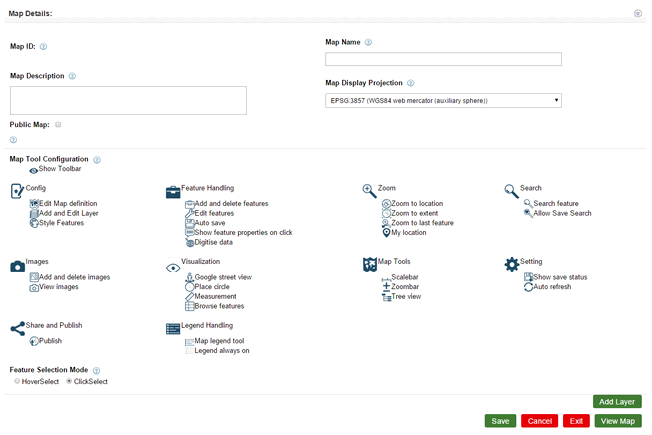
Map ID - A unique identifier for your map. This is auto generated.
Map Name - Enter a name for the map.
Map Description - Enter a description for the map. This is optional.
Map Display Projection - Select a coordinate system to project the layers. By default it is set to ESPG: 3857.
Public Map - Turn this ON to make your map shareable. Turn it OFF to make your map private.
Map Tool Configuration
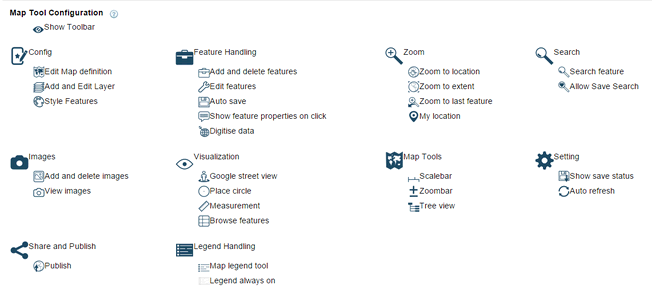
Select an icon to turn on/off a feature. Click a header icon to toggle all features in that list. The Show Toolbar icon toggles all features that appear on the map toolbar. See AziMap Tools and AziMap Advanced Features.
Feature ON

Feature OFF


Save - Saves your map as long as all required fields have been filled in.
Cancel - Removes all changes made since your last save.
Create New Layer - This will appear after you've successfully saved the map for the first time. It will take you to the Layer Creation Screen where a new layer can be created and automatically assigned to this map. See Creating a Layer for details.
Exit - Exits to the Map Portal. You will be prompted to save any changes.
View Map - Lets you view your map. Again, you will be prompted to save any changes first.

Another button that appears on this screen is the Add Layer button. For details on using this to add layers to your map see Select Map Layers.