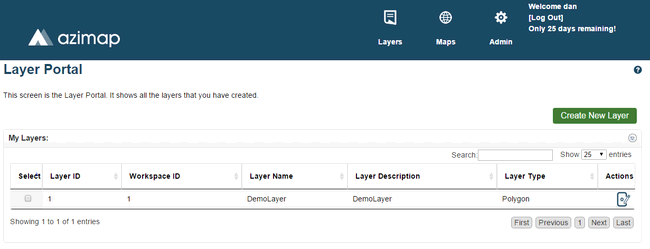
This is the Layer Portal. You can access it at any time by clicking Layers on the site header. All layers in your current workspace will be displayed here. Select Create New Layer to begin.
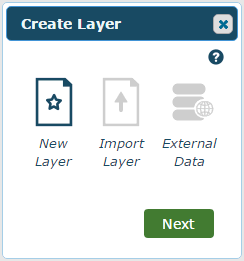
On the Create Layer Pop-up, select New Layer and click Next.
This is the Layer Creation Screen.
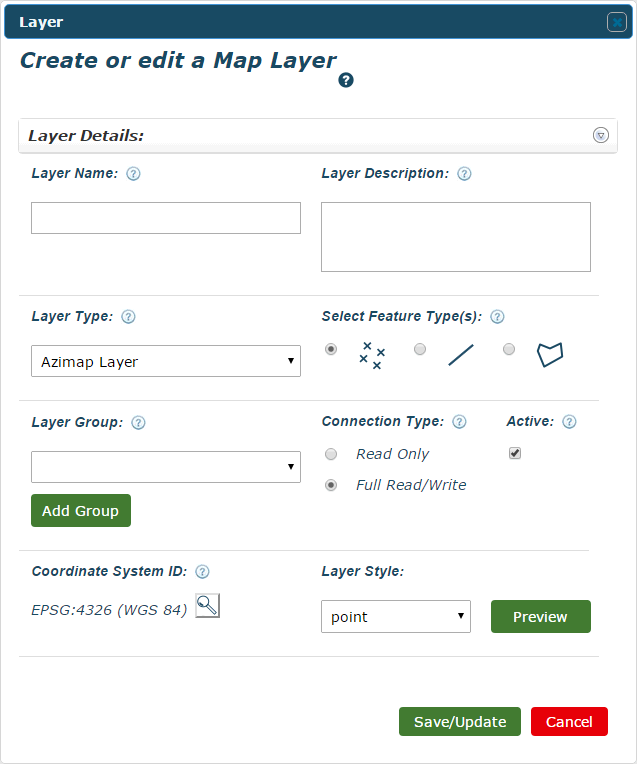
Layer Name - Enter a name for the layer.
Layer Description - Enter a description for the layer. This is optional.
Layer Type - Select the type of layer you are creating.
Select Feature Type - Select the feature type you wish to associate with the layer. The choices are point, line or polygon. For details on these see AziMap Tools.
Layer Group - Choose a group for the layer or add a new one. Layers that share a group will be grouped together on the map screen for easy access. This is optional.
Connection Type - Set the layer to read only or full read/write.
Active - Select whether or not you want the layer to be active. Your layer can't be used until this is checked.
Coordinate System ID - Enter a coordinate system to project the layer onto when viewed.
Layer Style - Select a layer style from the drop-down menu. This will change the actual appearance of the layer on a map. For details on customisation see Style Features.
You can select Cancel at any time to exit without saving the layer.
Select Save/Update to save the layer.
The following options will appear as well as the Database Table. For more details on this see the Database Table section.

Show Map - This will create a quick map named after and containing your created layer. See AziMap Basics and Edit Map for what to do next.
Save/Update - This will again save any further changes made to the layer.
Cancel - Select this to return to the Layer Portal and disregard any changes made to the layer since your last save.
If you created your layer from the map screen, the Return to Map option will also be available.

This will return you to the Edit Map Screen and, if you set it to active, will automatically add your layer to the map.

For more details on this see Creating a Map.