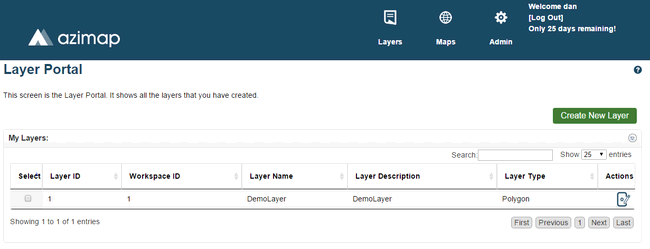
This is the Layer Portal. You can access it at any time by clicking Layers on the site header. All layers in your current workspace will be displayed here. Select Create New Layer to begin.
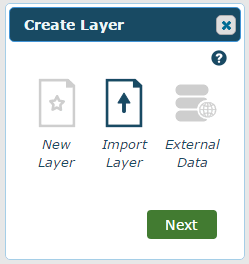
On the Create Layer Pop-up, select Import Layer and click Next.
This is the Import Layer Window.
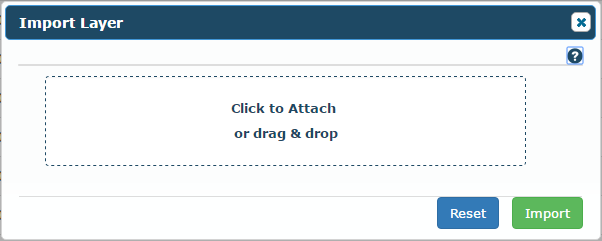
Simply drag the desired file(s) into the central area of the panel. Alternatively you can click this area and select them using your file browser. Compatible files include ShapeFiles, CSV files, TAB files, KML files or TIFF files.
For the following example a ShapeFile is dragged in.
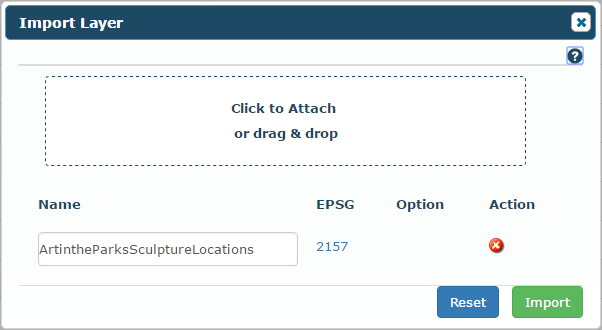
For files like this, everything that is needed will be entered automatically. The layer is therefore ready for import but let's add another one first.
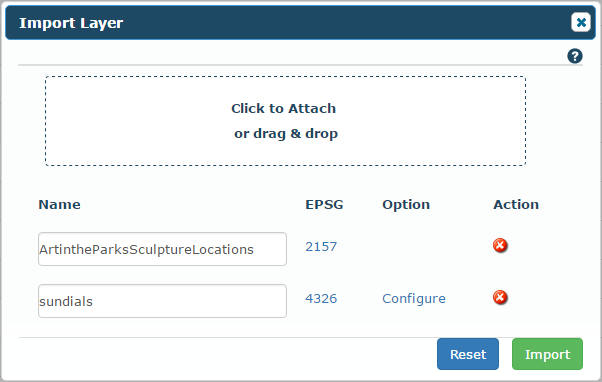
A KML has been included as well. For this file, the feature type must be selected manually. Under Option, you'll notice the KML has a Configure button. Click it.
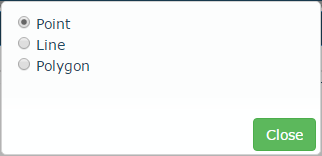
In this case, the feature type is point so select it and click Close to return to the main panel.
Click Import to start converting the files to usable layers. When they're done this pop-up will appear.
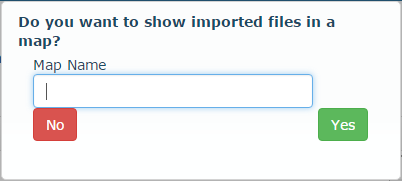
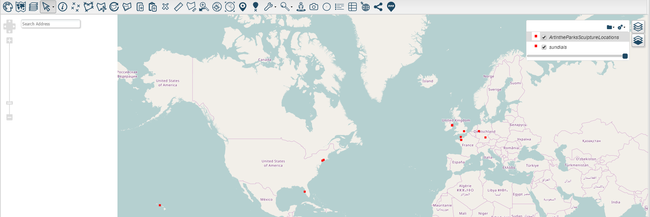
At this point the layers will be in your Layer Portal and ready to use. To quickly create a new map for them, enter a Map Name here and click Yes. Otherwise click No.
Note: Keep in mind that some file types will require additional configure information and/or the ESPG projection to be entered manually before they can be imported.