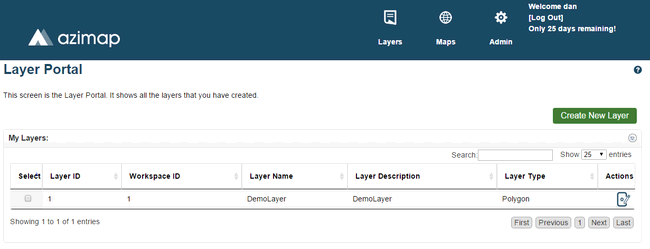
This is the Layer Portal. You can access it at any time by clicking Layers on the site header. All layers in your current workspace will be displayed here. Select Create New Layer to begin.
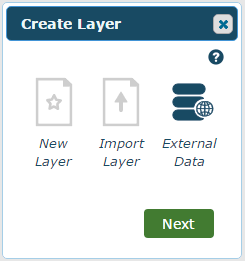
On the Create Layer Pop-up, select External Data and click Next.
This is the External Data Pop-up. Enter your database's details and click Next to connect to it.
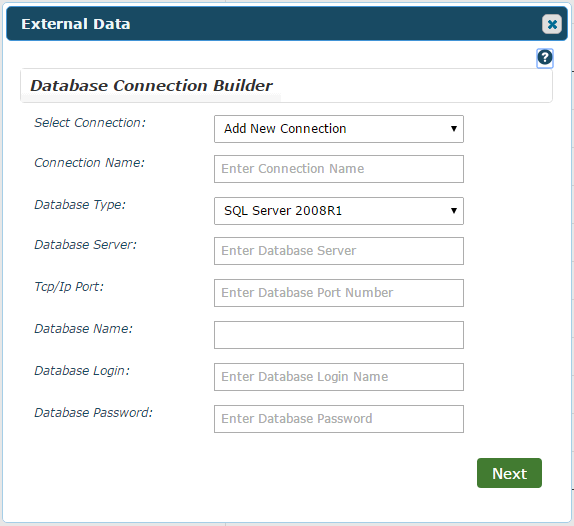
Select Connection - You can select an existing connection from the dropdown and the rest of the fields will be filled in automatically. If you haven't made one before select Add New Connection.
Connection Name - Enter a unique name for the connection. This is what shows up in the Select Connection Dropdown for an easy reconnection.
Database Type - Select the type of database you're connecting to.
Database Server - Enter the server you're connecting to.
Tcp/Ip Port - Enter the port number of the database you're connecting to.
Database Name - Enter the name of the database.
Database Login - Enter your database user name.
Database Password - Enter your database password.
Click Next when you've entered your information and the following screen will appear. You can also now click Back at any time to return to the previous one.
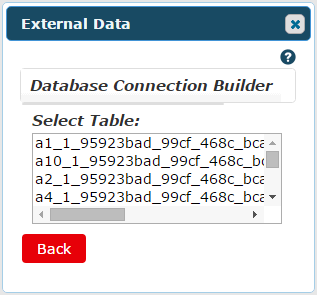
Select your desired table from the list and the pop-up will expand as follows.
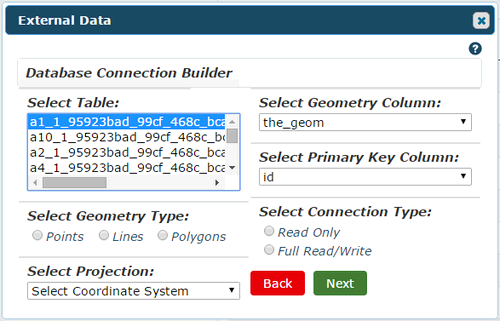
Select Geometry Type - Choose the type most appropriate for displaying the data in your table. The choices are point, line or polygon. For details on these see AziMap Tools.
Select Projection - Select a coordinate system to project the layer onto.
Select Geometry Column - Select the geometry column.
Select Primary Key Column - Select the primary key for your table. This would be a unique identifier like ID.
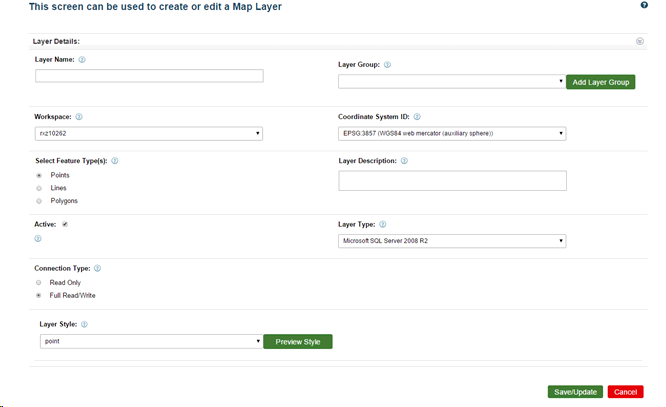
Click Next to create your layer. This will bring you to the Edit Layer Screen for your created layer where you can make additional changes. For details see Edit Layer.